3-D Printing… We’ll Just Be Able to Print That

It is safe to say that the future is here! Your dreams and aspirations of creating something from seemingly nothing are now possible with only a few hundred dollars and some software. Whether you want to create a camera tripod or an otoscope, 3-D printing can be an effective and cost-efficient method of production.
3-D printing is taking a three-dimensional digital file and converting it into a real, physical object. Let’s start with the “3-D printing process.” There are four main steps to 3-D printing.
Step 1: The Idea
Everything has to start somewhere, and in the 3-D printing world, this somewhere is an idea. Whether you want to print a toy rocket ship or a plant pot, your initial idea is the gateway to 3-D printing. For example, you may want to create a chess piece – the pawn.
Step 2: The Design
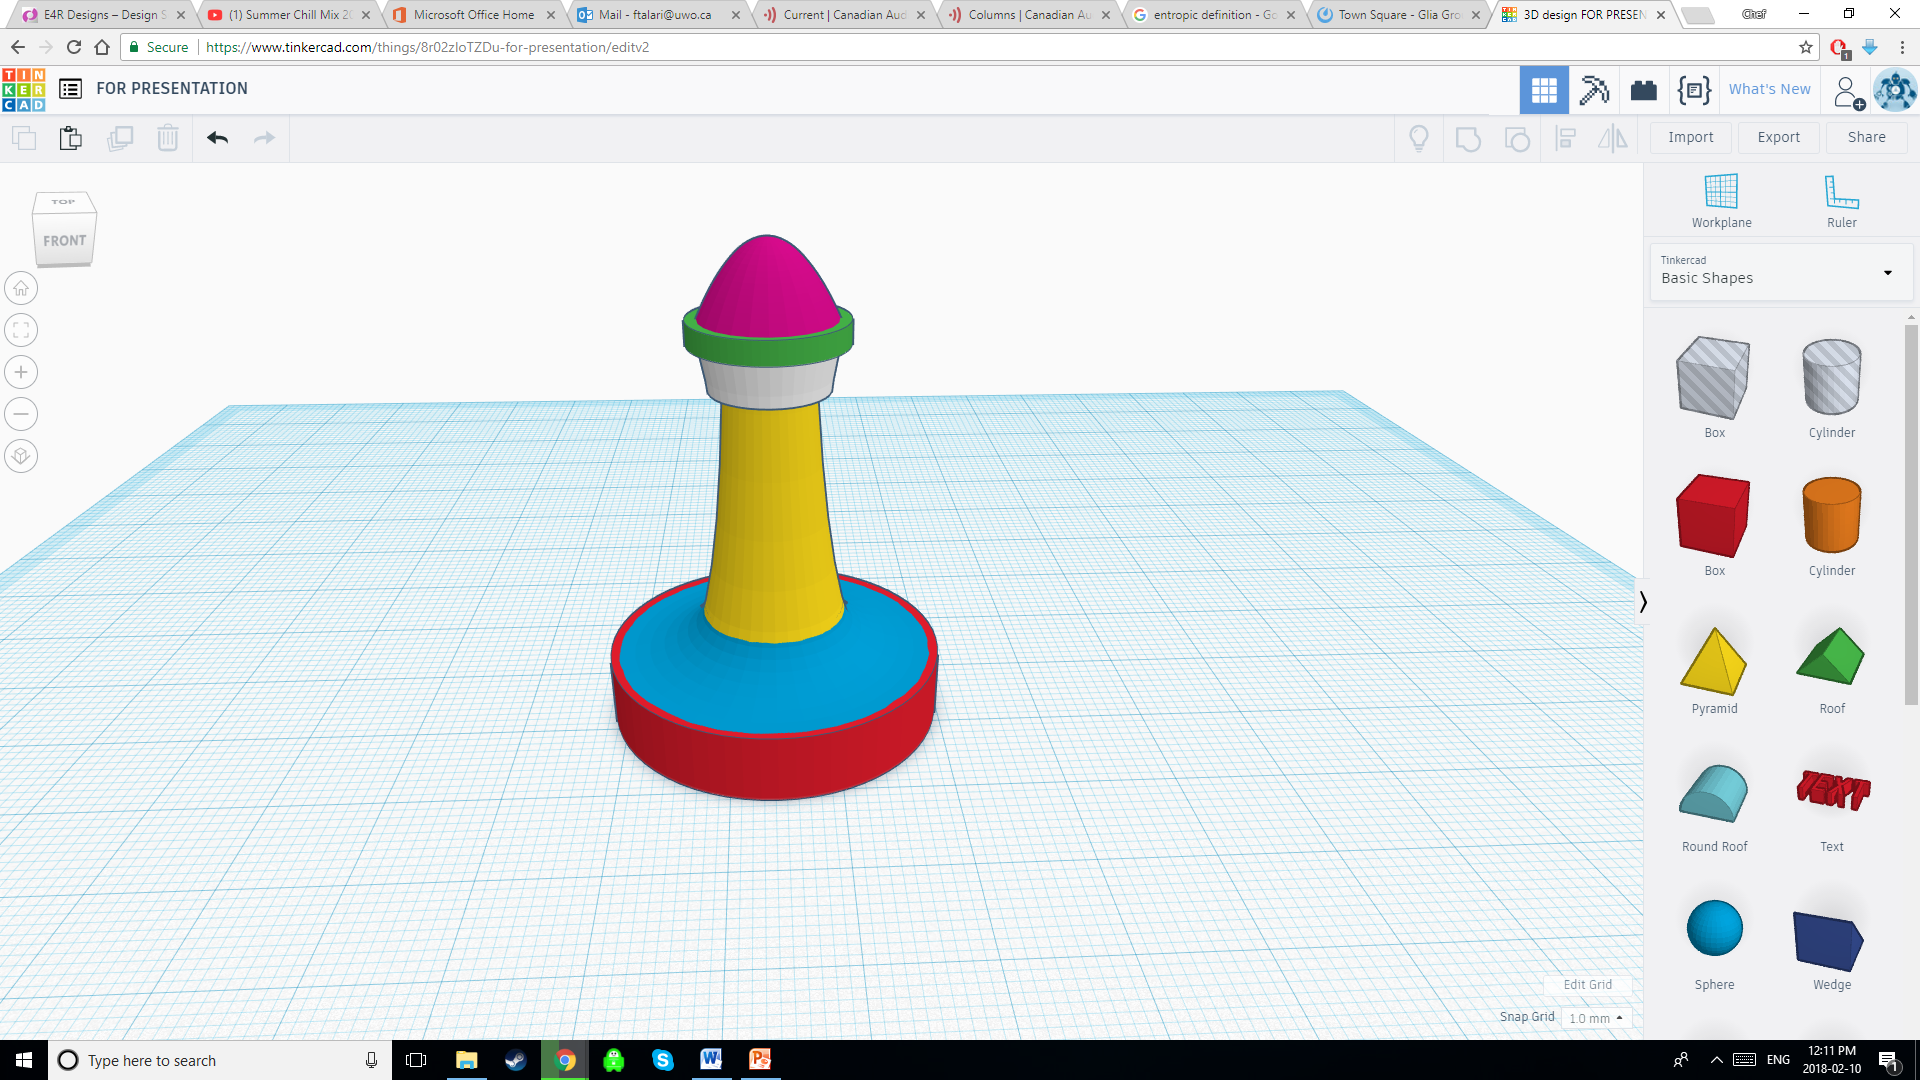
You now have an idea and maybe even a few paper and pencil drawings of you vision. It is time to use a design software program to create a digital version of your idea. There are several different 3D-designing software programs ranging in complexity and price including AutoCAD, TinkerCAD, and FreeCAD. For this chess pawn, TinkerCAD, a free and easy-to-use 3D-design software, will work. By adding together different shapes, the chess pawn has been designed.
Step 3: Slicing It!
The next step in the 3-D printing process uses special software called a “slicer” to tell a 3D-printer exactly what to do and where to move in order to create a 3-D designed object. There are several different “slicer” programs available including Ultimaker Cura and Simplify3D. For the chess pawn, Ultimaker Cura, a free and open-sourced slicer software, will be used. The image below shows the chess piece in the slicer software. A 3-D printer will systematically create the chess piece by following directions from the slicer software.
Step 4: Print It!
It is time to put the digital file into a 3-D printer and press print.
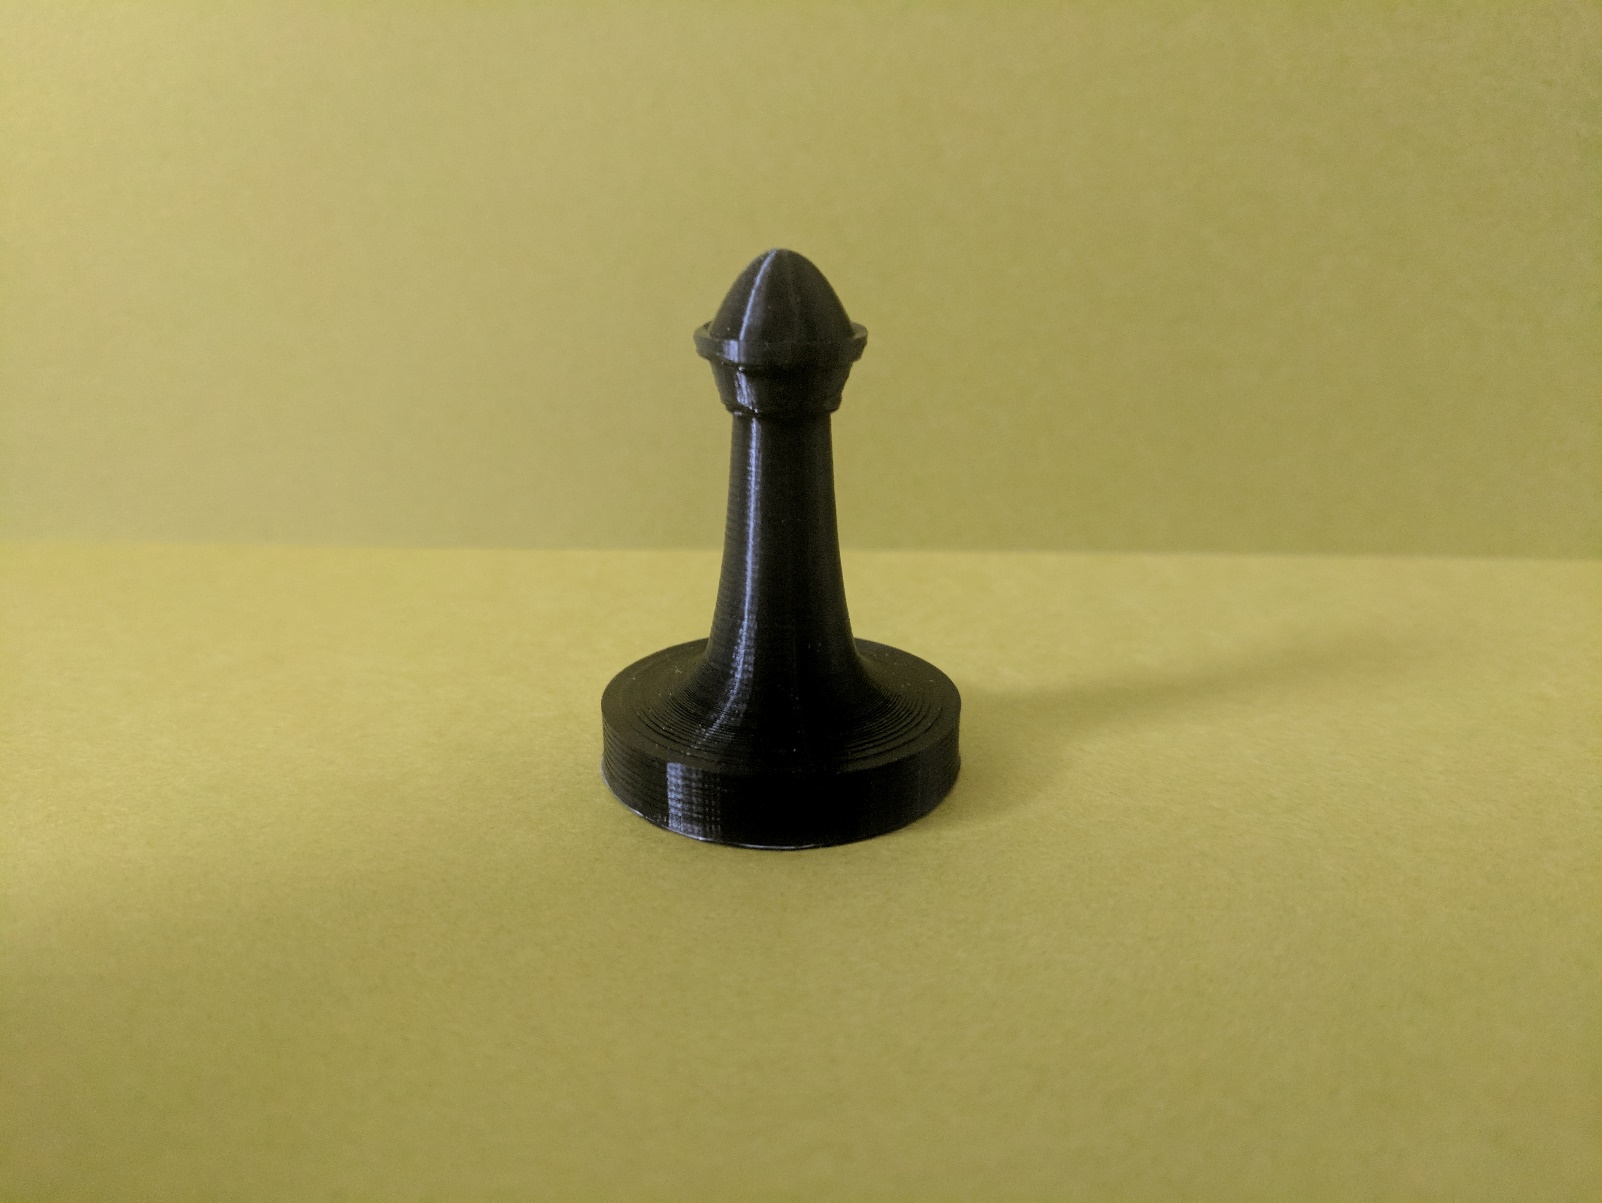
In 1 hour and 13 minutes, with approximately 5 grams of plastic used, and 443 tiny layers (each layer being 0.1 mm tall), the chess pawn is complete.
There are many different 3-D printing technologies that are used to turn a digital file into a physical object. Some 3-D printers create objects using filament, or a long thread-like thermoplastic material, usually coiled in a spool. Some 3-D printers create objects using resins, or viscous liquids. In addition, some 3-D printers use tiny particles to create objects. The 3-D printing method using filament will be discussed here. This printing style is known as Fused Filament Fabrication (FFF). FFF printing takes a thread-like thermoplastic, pulls it through a very fine, hot nozzle, and deposits molten plastic on a growing work piece. FFF printing is by far the most popular method of 3-D printing. The technology is relatively inexpensive and produces fairly strong and robust objects. There are also many different colours and materials available to print with.
With any technology, several disadvantages exist. FFF printing is quite slow- the small, 4.5 cm chess pawn that was previously designed, took over an hour to print; now imagine printing the whole chess set! The visual quality of FFF printing is also relatively low, since horizontal layer lines are noticeable if no additional processing or sanding is done to the printed piece. Nevertheless, FFF printing continues to be the most popular form of printing.
3-D printing has excellent potential for applications in the medical device industry. With 3-D printing, a creator will be able to create multiple identical devices at a relatively low cost. One would not need to invest in a factory or an injection moulding machine to fulfill a small-scale production project. 3-D printing can also be used to create custom and patient-specific devices such as ear moulds, casts, splints, prosthetics, and even hip replacements. Moreover, 3-D printing can also reduce waste and thus be environmentally friendly. In fact, there are several devices that take plastic waste, melt it down, and create usable filament for printing. 3-D printing can also decrease the amount of manufacturing steps in a device’s development, further reducing waste. Finally, 3-D printing can be used in low-resource settings to get medical devices out for public benefit. This in turn also supports local business and talent.
In my opinion, the greatest benefit that 3-D printing can bring to the medical device industry is an increased potential to implement individual design decisions (design empathy) into their creations. Design empathy is a user-centred design strategy that emphasizes the designer’s need to gain empathy with the user for whom they are designing the device for.1 Successful audiology practices employ effective patient-centred care, thus, it makes sense for a design process to follow this trend. Audiologists, occupational therapists, speech language pathologists, and physical therapists excel in patient-centred care, and through the availability of affordable 3-D printing technologies, these health care professionals can change lives by employing their knowledge to design.
There is a need for low-cost, high-quality audiology-related medical devices for use in low-resources settings. I believe that hearing healthcare is immensely important, and the unavailability of the devices used to assess hearing should never be a reason for poor quality care.
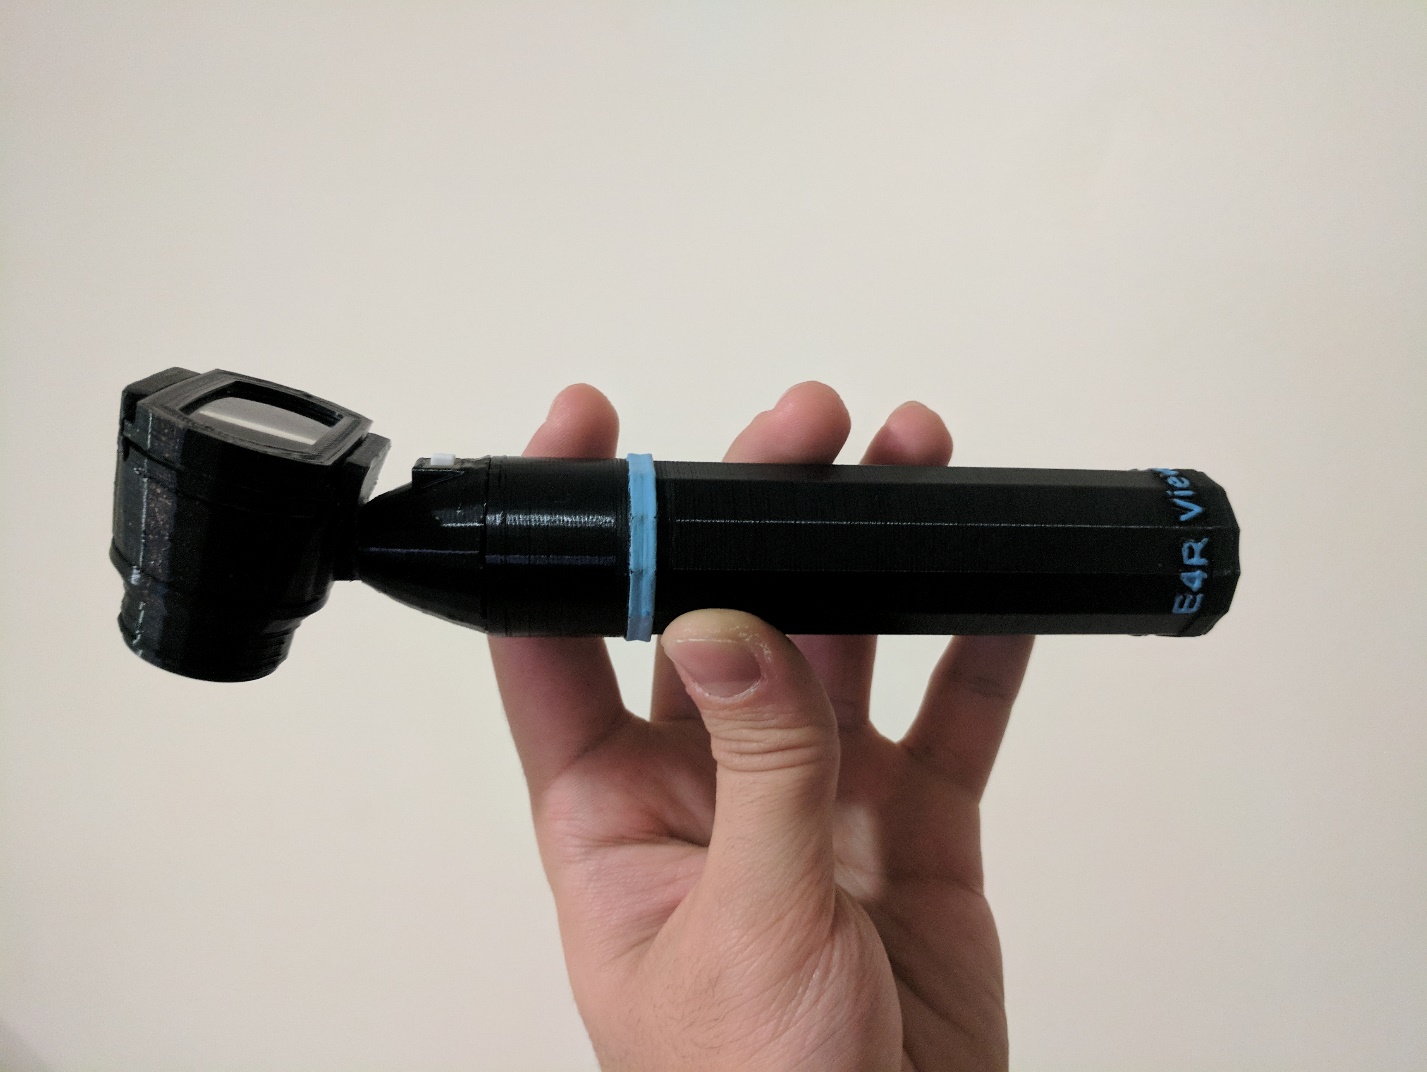
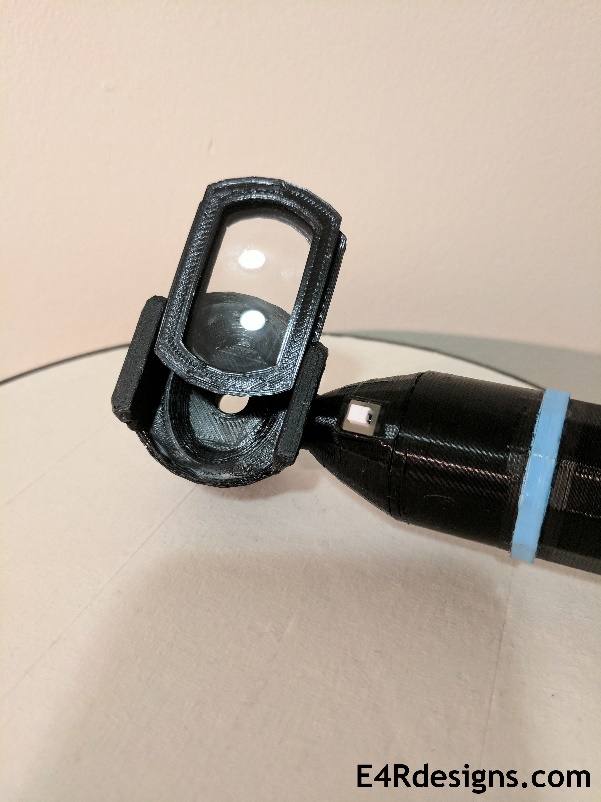
I have developed several 3-D printed, high-quality and low-cost devices in order to bring better hearing healthcare where it is needed. By teaming up with the Glia Project, the E4R View 2 otoscope has been made available to the public at a global level. The E4R View 2 otoscope is an inexpensive and effective device used to examine the outer ear. Since this otoscope is open source, anyone can have access to the creation process, and for a relatively low material cost, you can build your own otoscope (Instructions can be found at https://github.com/GliaX/otoscope).

To read more on what the E4R View 2 otoscope has to offer, click this link (http://e4rdesigns.com/2017/11/07/big-update-e4r-view-2-release/).
Another device that has the potential to improve hearing healthcare globally is the 3-D printed Visual Reinforcement Audiometry (VRA) device. The evidence supporting the benefits of early-intervention for individuals with hearing loss is clear. It would be a shame if the barrier preventing early-intervention is a lack of testing equipment. The 3-D printed VRA testing device provides an effective avenue for testing children’s hearing in a variety of situations.
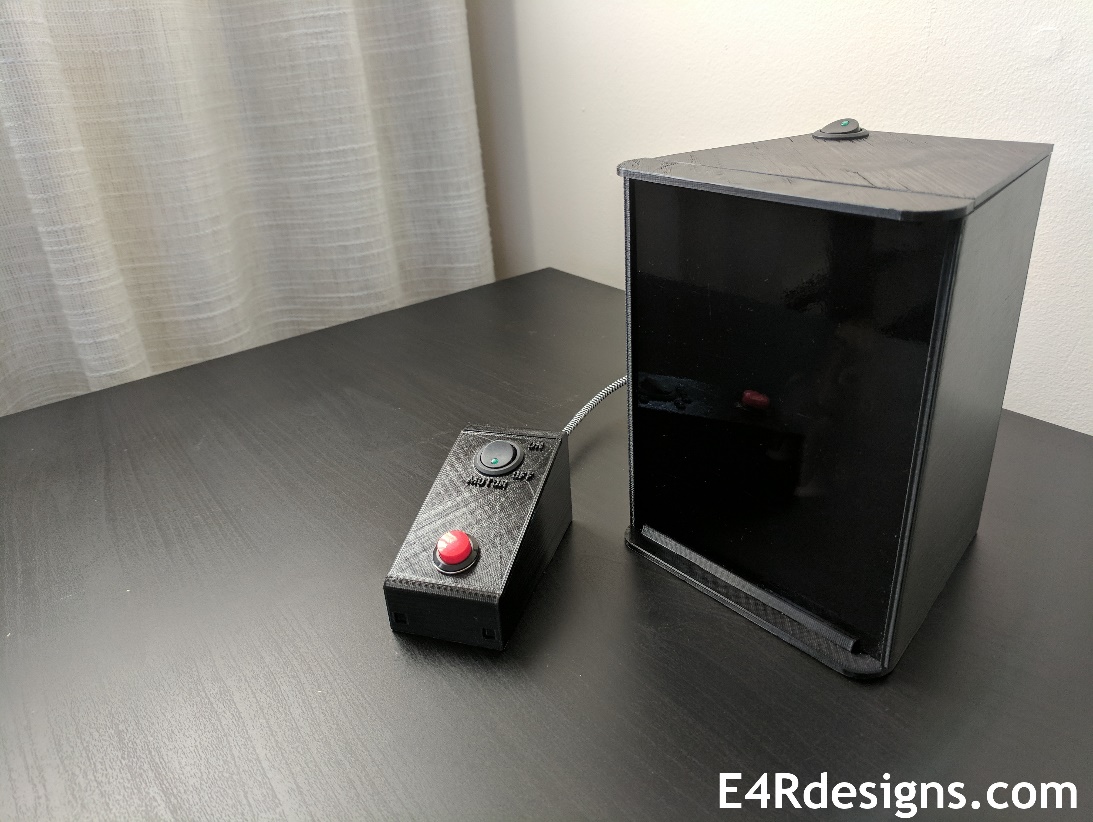
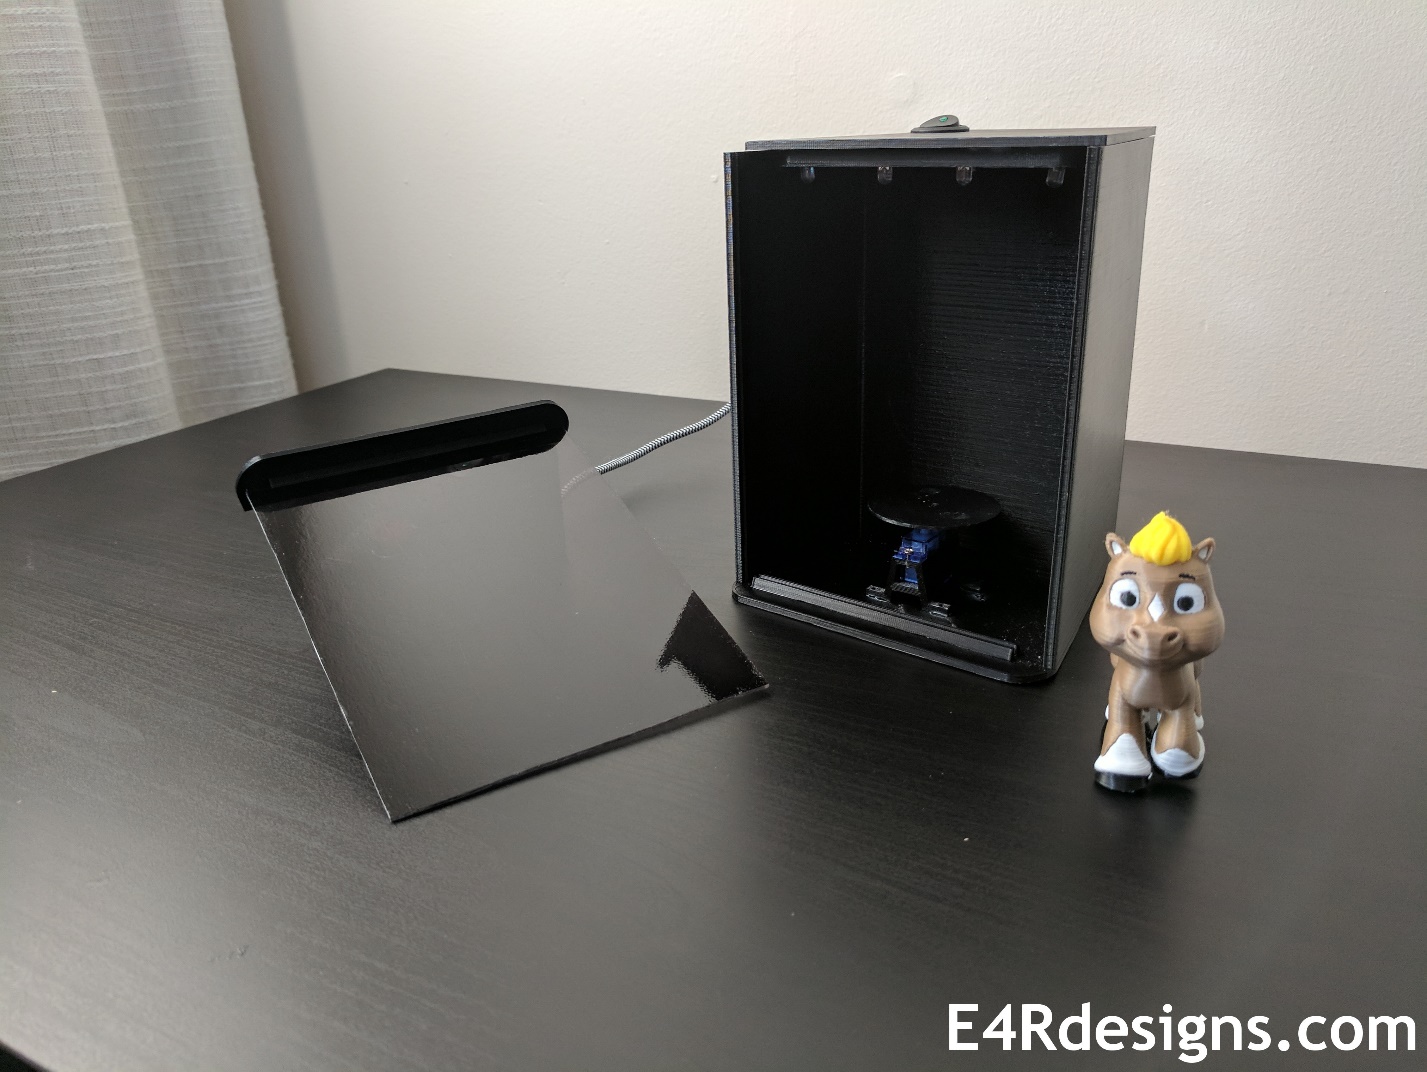
To read more on what the VRA device has to offer, click this link (http://e4rdesigns.com/2018/02/06/working-vra-device-larger-and-updated/).
For more information regarding the work I am doing with 3-D printing and audiology, go to www.E4Rdesigns.com.
With the increased availability of 3-D printing, audiologists can use this technology to benefit the profession, patients, and the world.
Reference
1. Kouprie M and Visser FS. A framework for empathy in design: stepping into and out of the user's life. J Engineer Design 2009;20(5):437–48.